I decided to ditch daily blog posts, they took to much time, so I’ll give you a recap of the last 3 days.
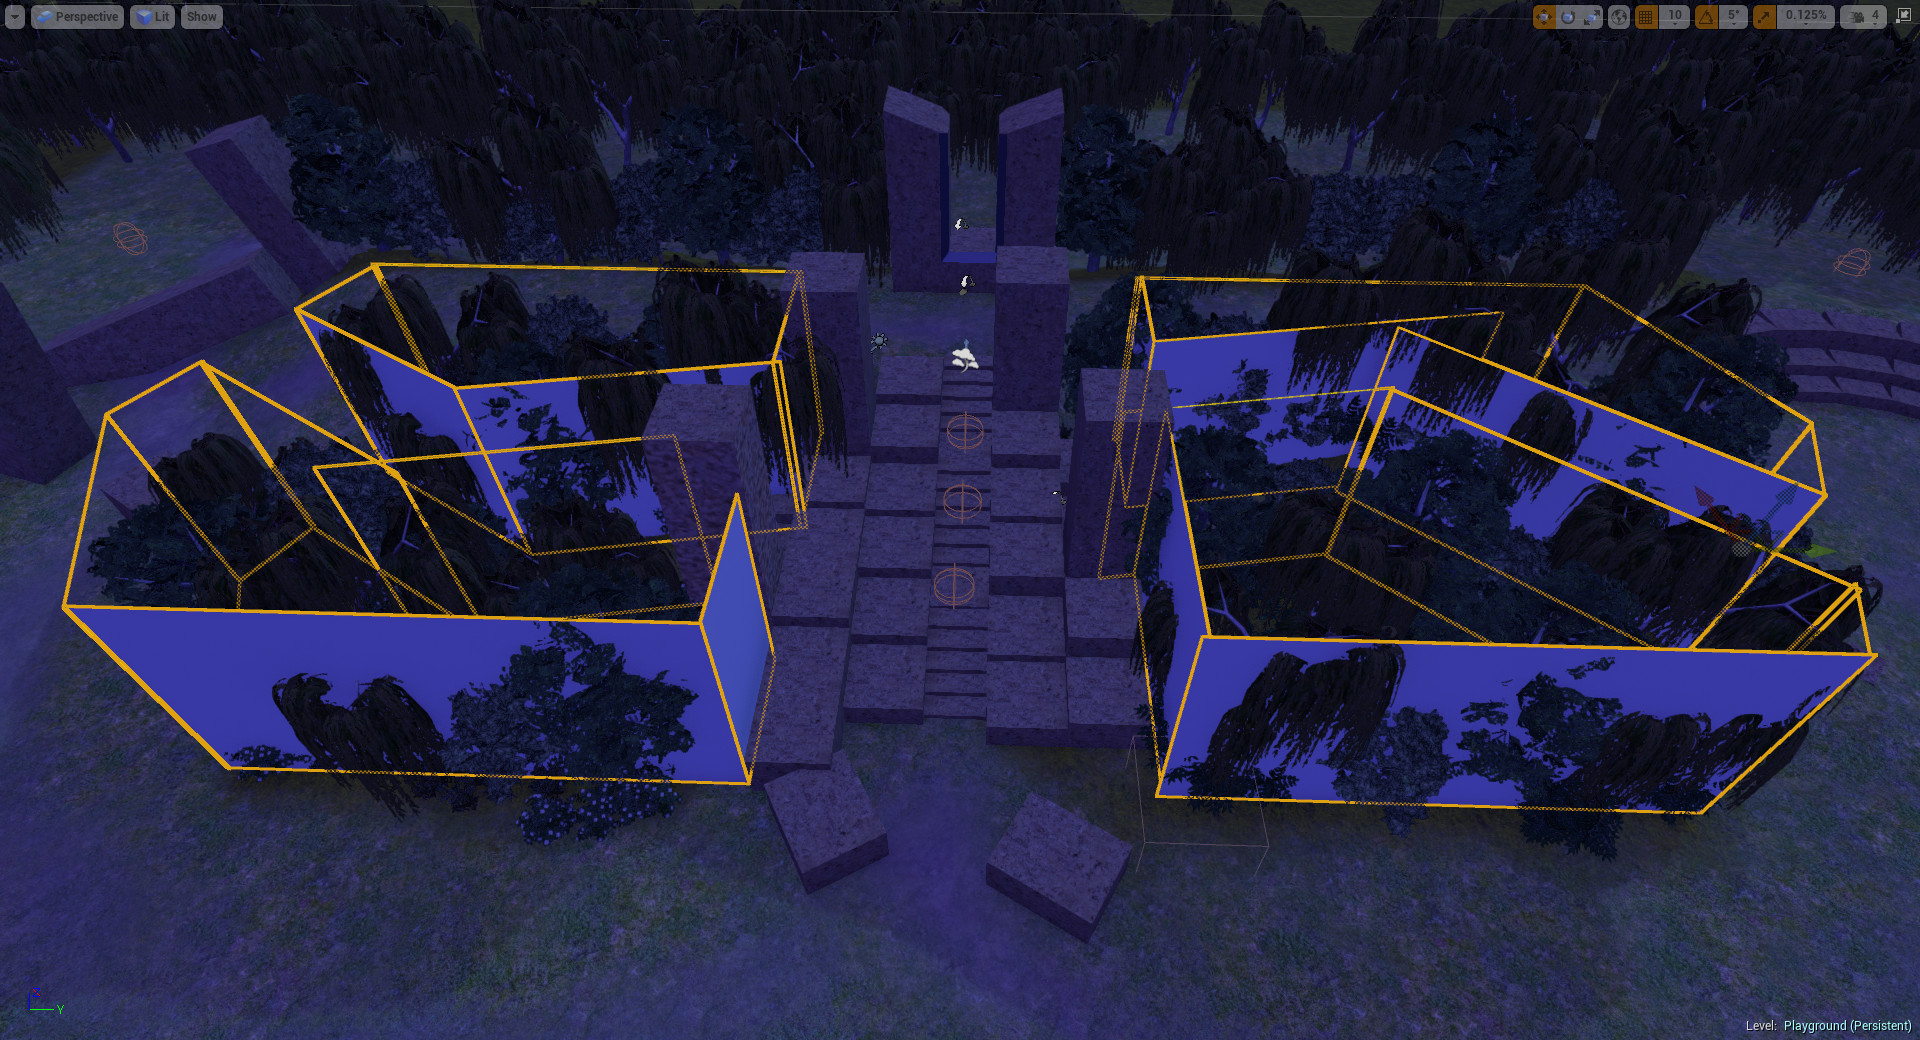
I also strayed from the steps I outlined in the timeline as i ran into multiple engine issues I had to deal with. As such, instead of modelling the monument in more detail, I ended up modelling the walls surrounding the spawn-points. Oh yes and I modeled invisible walls because BSP brushes are always set to visible.
But lets take this step by step.
Texturing The Monument
I started out with the monument. The tricky part was finding and applying a texture that fit well. Finding tileable concrete textures, that don’t just boil down to noise, took me a while and I’m still not happy with it. I plan on using different textures and tile scales of what I found so far to break the visual repetition.
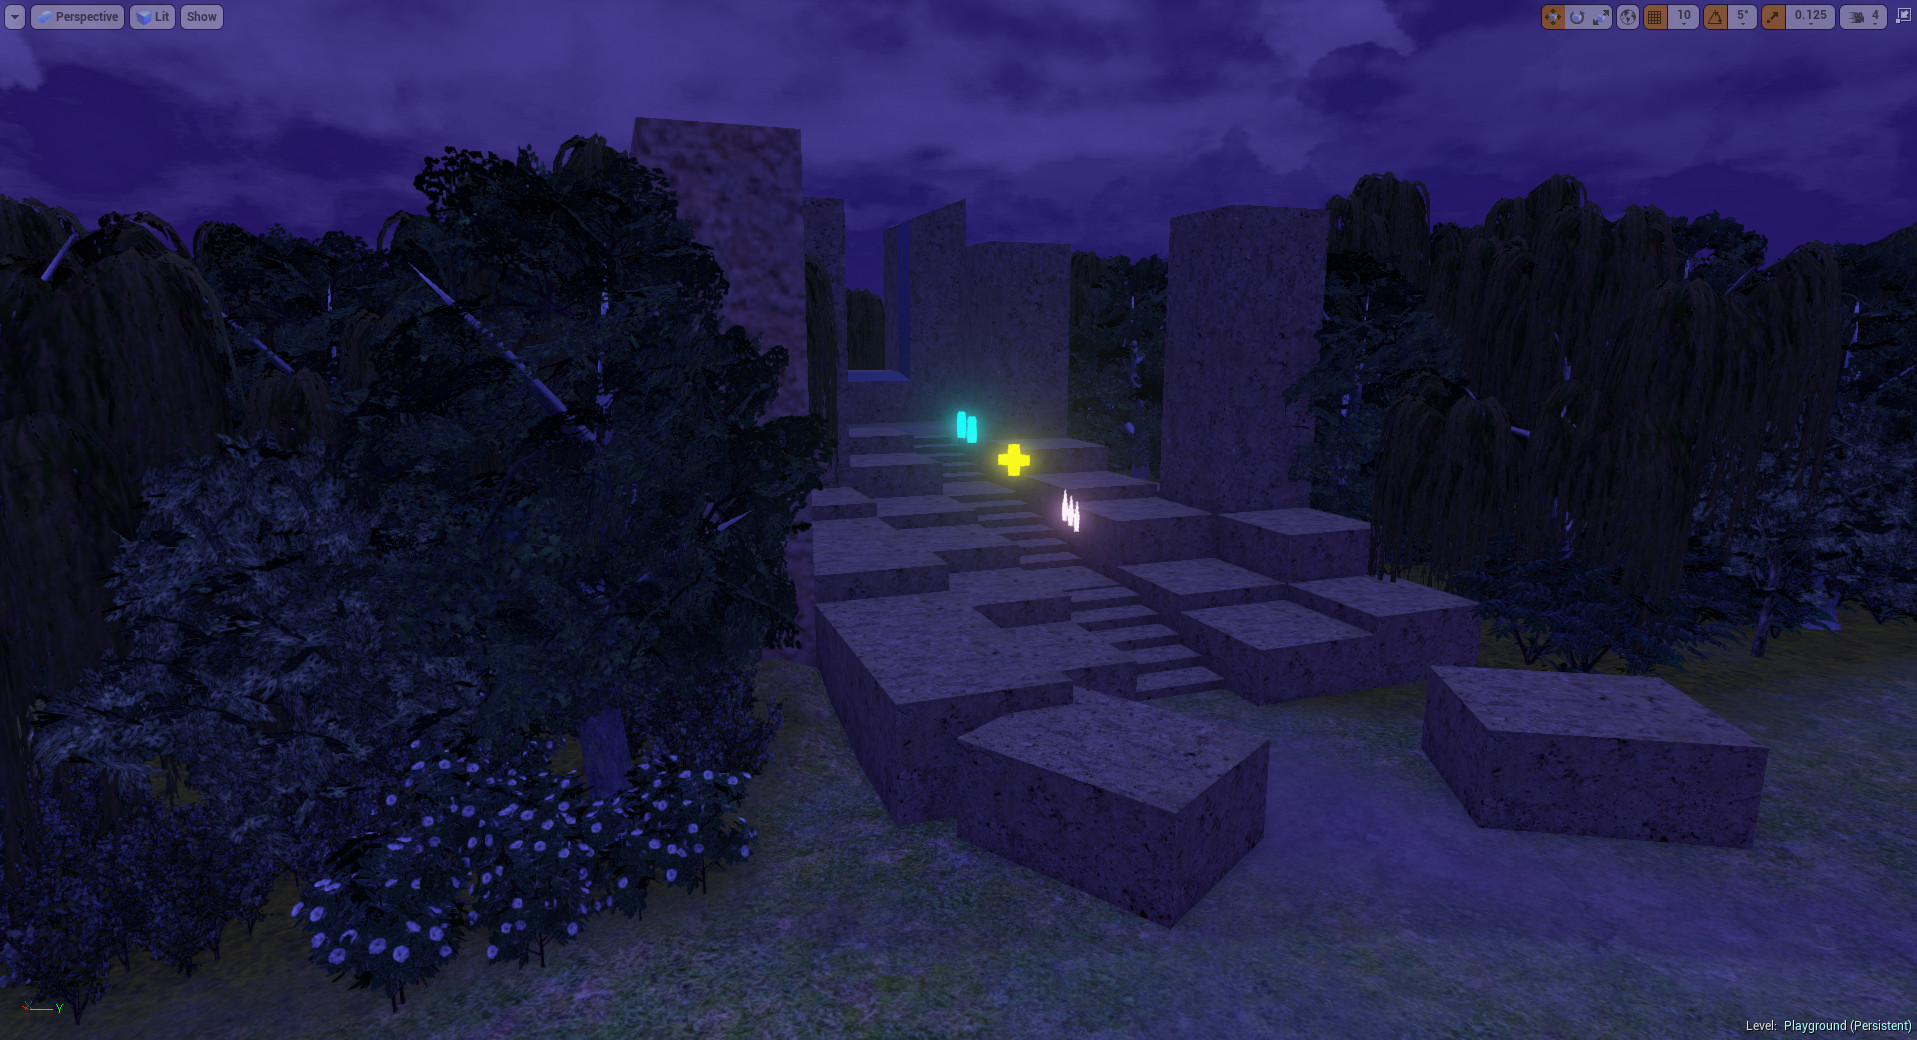
Thanks to the material instances in Unreal Engine 4, I can create these rather quickly now. The scale and the texture of these instances are set up as parameter which allows for real-time updates in the engine view as I tweak them. Once I found out about that feature I redid most of the materials I had so far to allow for faster tweaking. (Compiling shaders takes quite a while and, me being a workflow nut, I go out of my way to create shortcuts wherever I can. This challenge is meant to be a test for level design workflows after all.)
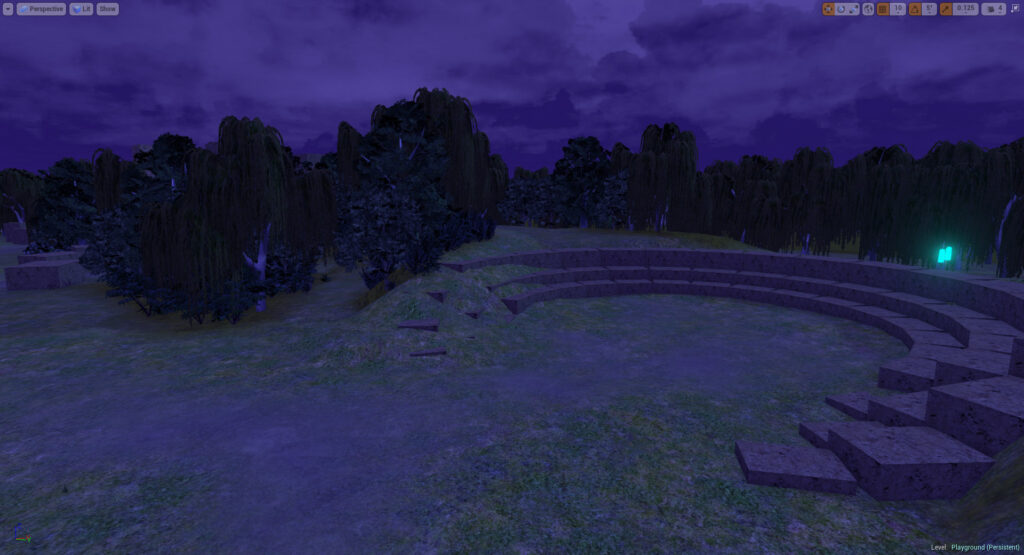
Detailing The Central Area
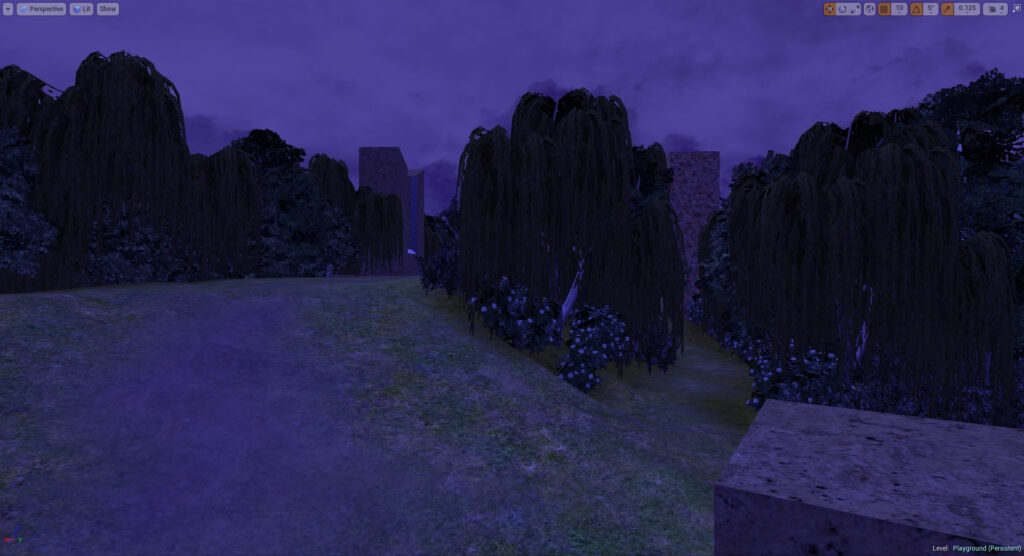
As mentioned in my last post I wanted to create little thickets to the left and right of the monument that had small passages in them. This led to some rather tricky issues:
- Trees tend to have unwieldy collision shapes and could hinder smooth player movement
- Trees do not block the view well below their crown
- BSP brushes are always set to visible
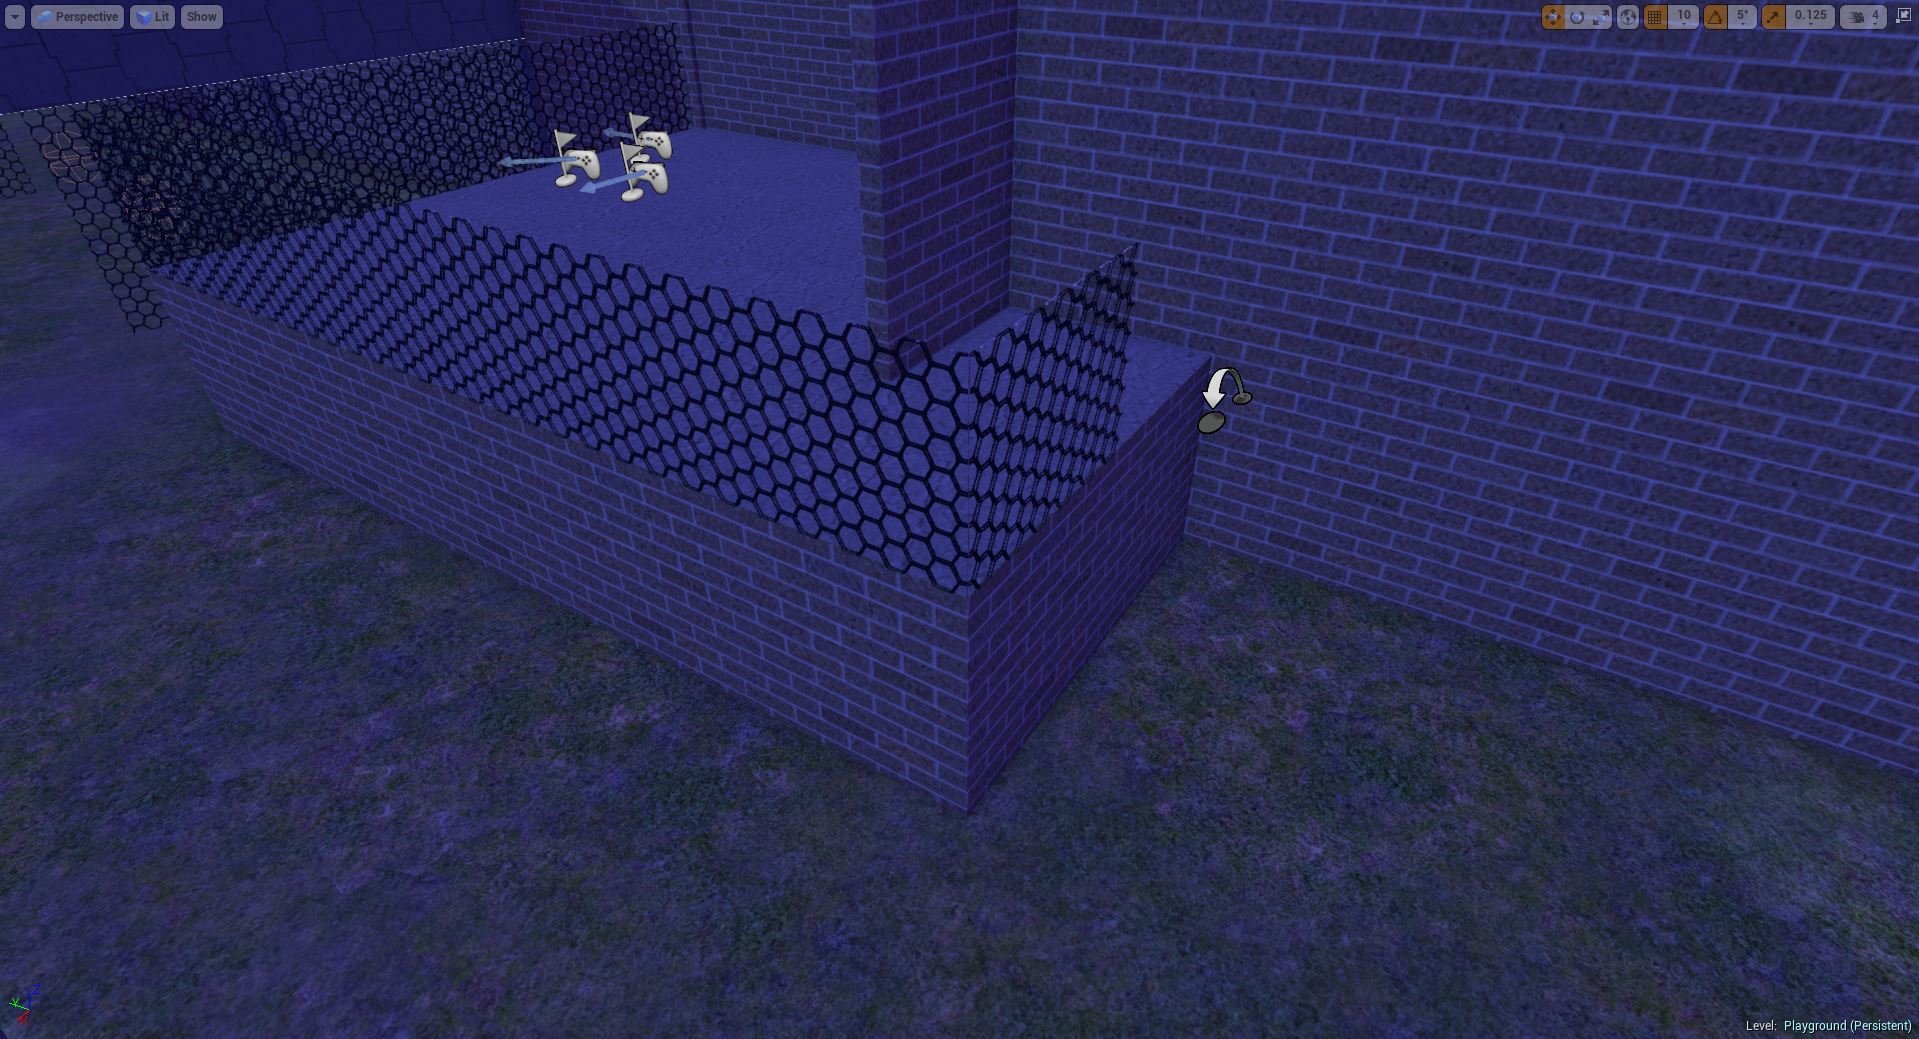
For point 1, I decided to make the trees in this area non colliding and kept the BSP brushes that I had used to layout the shape of these groves for collision. I gave them a translucent material and thought I could just set its alpha to 0 to make them invisible. Point 2 required a thick underbrush that could also be used, to let the player know where he could and couldn’t go.
So I set out to find some trees that I could use and found some in the unity asset store, that had enough volume in their crown to block the view. Importing them into Unreal required porting the textures from their psd files and setting up transparent materials. That sounds way easier than it turned out to be. First the alpha channels didn’t convert correctly, then non of the translucency settings I tried had the desired effect.


After loosing some time on this, I asked a friend who had been working with UE4 for a while (btw., thanks again Hanno!). Turns out, that getting translucency right is quite tricky and using a masked material, that just cuts off below a specified alpha value is way more reliable. It’s not the most pretty way to do this, but I was aiming for night-time atmosphere. I decided to give the ugly edges to the darkness and move on.
As I came to painting in the underbrush for the second grove, I started getting reliable crashes whenever I tried to save or play the game in the editor. I’m still not entirely sure what caused them but I felt like I was pushing the performance to hard with all those overlapping transparent faces. Going through the debug-visualizations I realized the BSP brushes that should have become the collision for the thickets only added to the overdraw and I tried to find a way to only use their collision and not have them in the render-queue. It turned out that that was impossible.
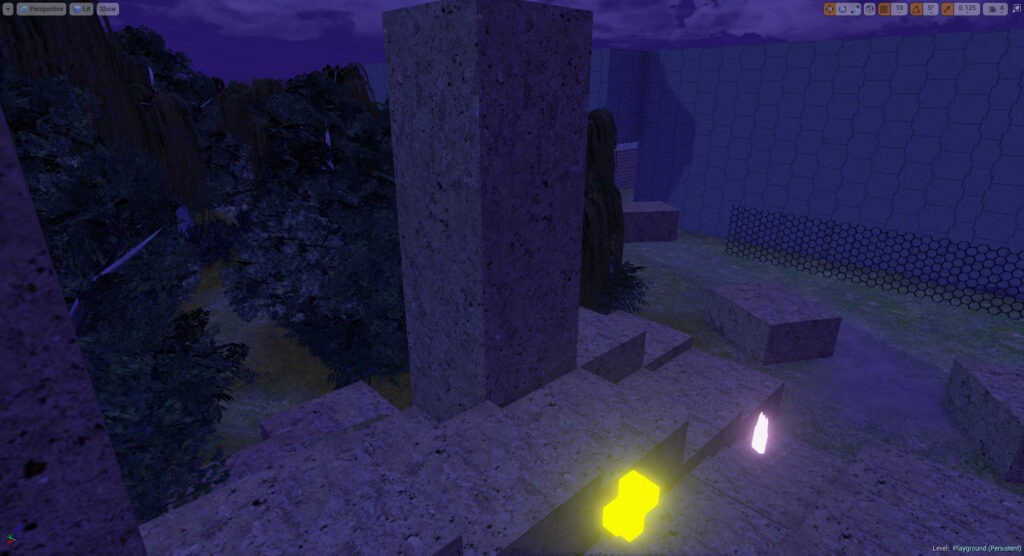
Invisible Walls
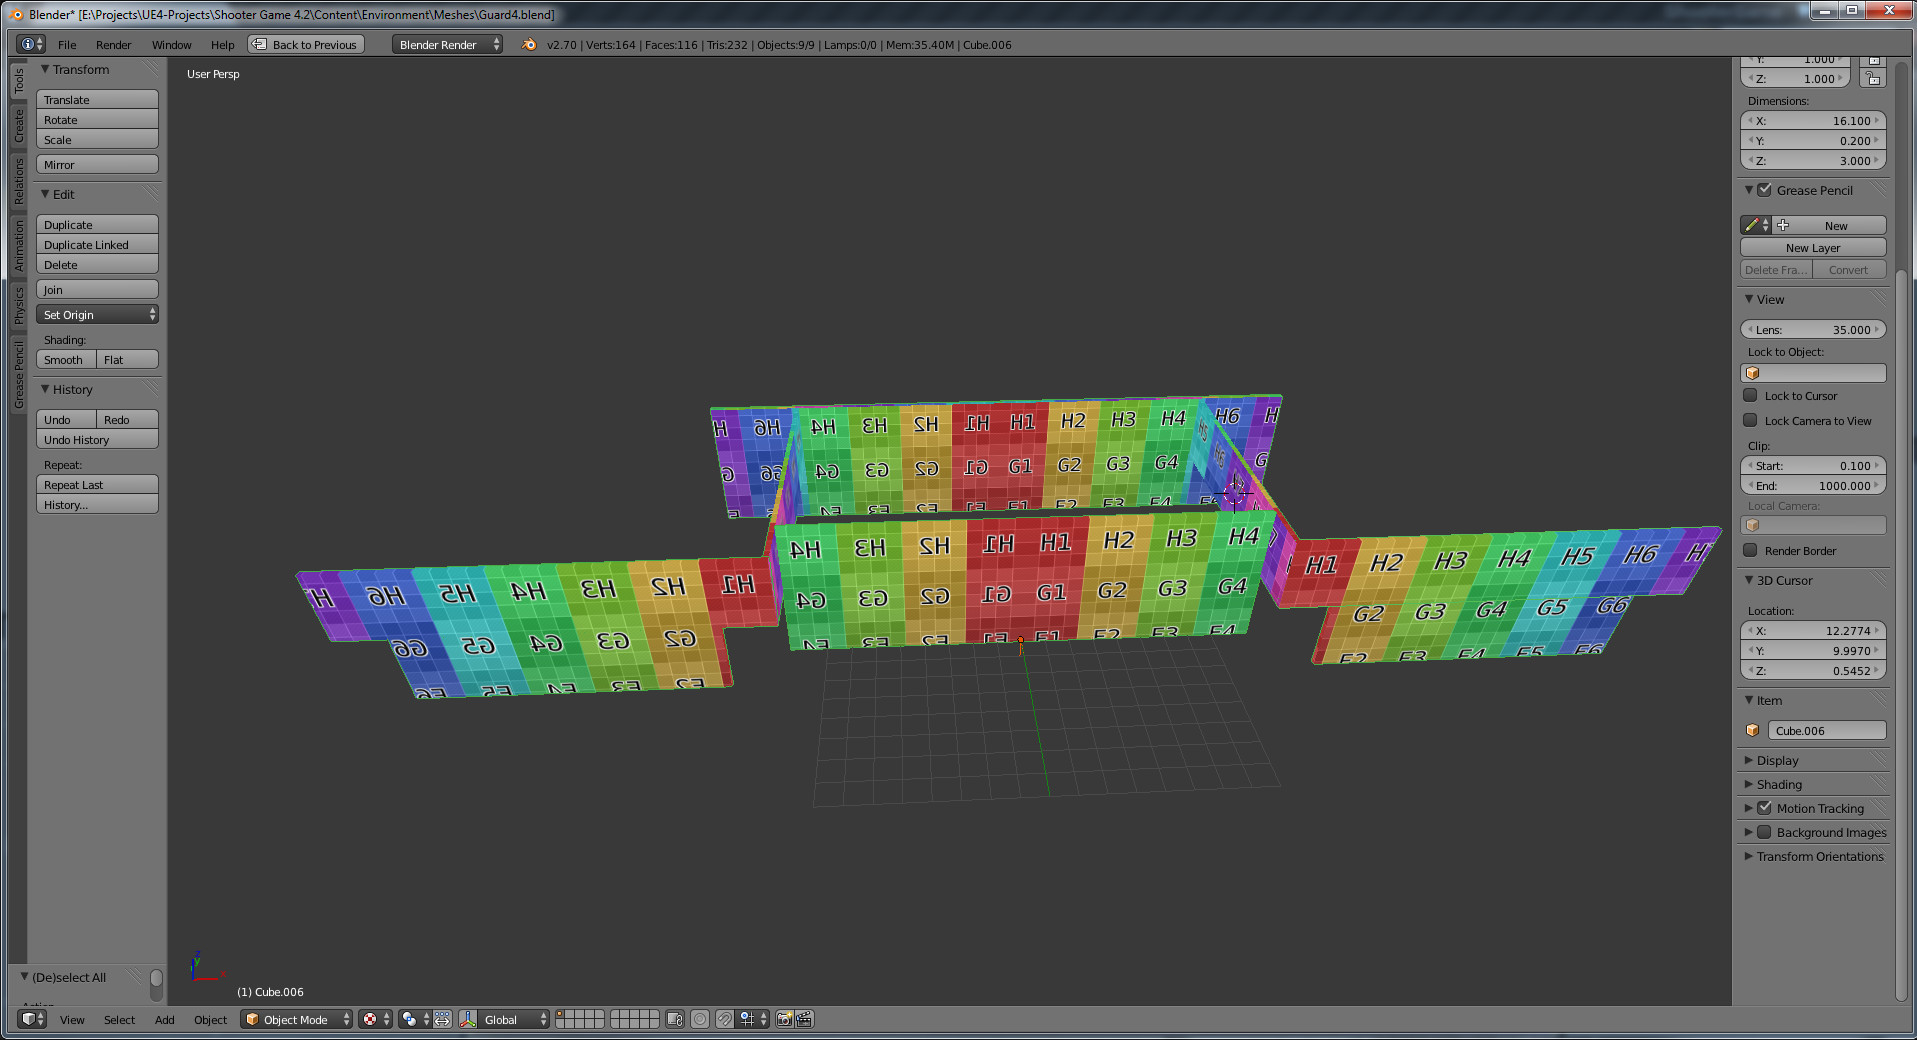
This led me to create a 1 by 1 meter collision plane as fbx. I’m certain their must be a better way but it worked. I imported it, gave it a 6 sided collision, scaled, rotated and placed it along the original BSP brush. I set the collision walls to invisible and deleted the BSP brushes. I did the same for all the other places where I had used these transparent BSP brushes and saw the FPS recover. Also, so far I had no more crashes due to painting in more foliage.
Modelling The Base
I had started out to model the spawn points and surrounding base in BSP. Thinks went kind of out of hand as I found out that one could extrude and basically do box-modelling with the BSPs. At some-point however, I seem ed to have reached the limit of BSP. I could only do one last extrusion and only for about 2 meters before nothing would work anymore. Also, while texturing I found out that the textures where rotated by 90° on some faces.
So I jumped into Blender and box-modeled the thing for real. I thought that smarter than to do the whole thing over in separated BSP brushes. While that wasn’t really a smart decision, as it came with other issues, it was certainly a good lesson in modeling, exporting and importing.
The first Issue where the UV-layouts. With the BSP, I hadn’t had to worry about these to much up until now. now all connected surfaces needed to have connected UVs and preferably all in the same scale factor. Blender has a nice unwrap for light-map function that helped to get evenly sized UVs but it still required more manual work than I had hoped for. Next up, Unreal doesn’t have Mesh-collision as e.g. Unity. Every collision mesh is simplified to boxes, spheres or anything convex in between, concave shapes are off the table. So i had to split the object into parts to make up for that.
All in all, this took too much time for what I wanted to achieve with this.
Lighting
In order to get a proper feel for the atmosphere I wanted to create I spend quite some time on adjusting the lights and the skymap. Now there are quite some settings that are a bit hidden in the Unreal Engine, that kept me from achieving this quickly. One of them was the eye adaptation. Whenever I made things darker, the eye adaptation would kick in and adjust for that. I tried to find that in the project settings with no luck. You have to add a PostProcessVolume to the scene adjust that setting or it will be on by default.
Setting Up Start Menu And Navmesh
To get Start Menu from the Shooter Example to accept my level and only allow for team death-match, I needed to dive into the c++ code that comes along with the example. Luckily I could find nearly all the spots I needed to edit, simply by searching for “Highrise” (one of the levels contained in the Shooter Example). From there I also found the game mode and was ready to build this for a test run. During that run, I discovered that the bots where too stupid to jump over the fences surrounding the spawn areas.
Having nearly no clue about their AI (I think it’s hidden on the C++ side, at least I couldn’t find a Blueprint with any logic in it) I tried adding NavMesh Link Proxys to no effect. Well, at least now they went to a very specific place at the fence to not jump down. Since going into the bot behavior too much would be leaving the scope of this challenge, I altered the structures of the spawn positions instead. now they can simply drop off in the back.
Next And Final Steps
I’ll spend the rest of today on fine-tuning textures, lighting and foilage. Expect a build sometime around midnight (CEST or GMT/UTC +2).
Leave a Comment